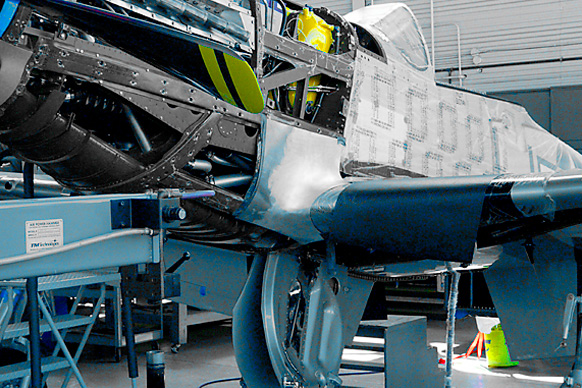
Replacing Damaged Wing Root Fairings
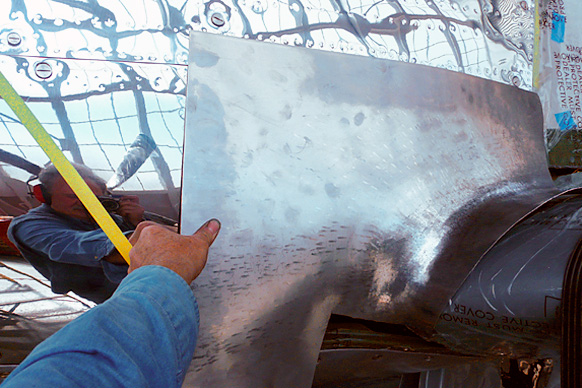
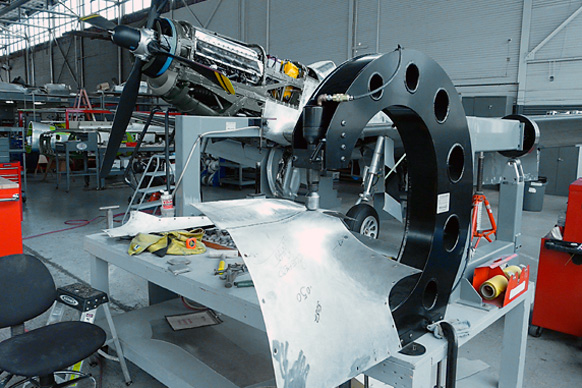
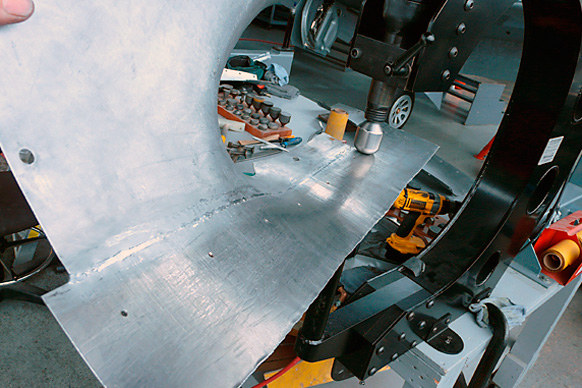
Metal Work with the TM Technologies Air Power Hammer
Home > Gallery of Metalwork > Aircraft Metal Work > Replacing Damaged Wing Root Fairings, Metal Work with the TM Technologies Air Power Hammer
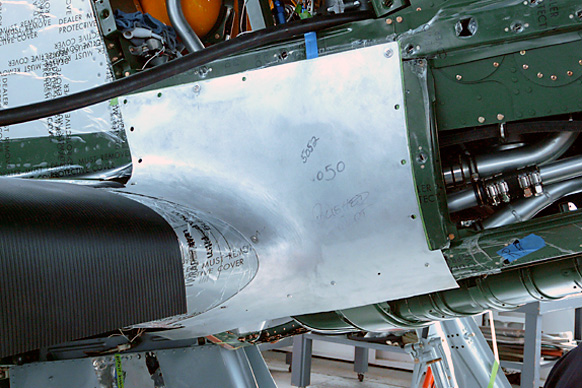
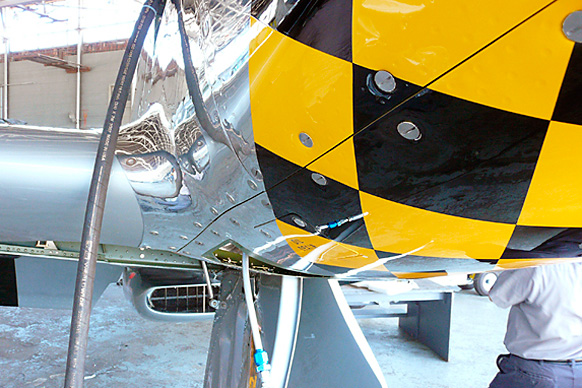
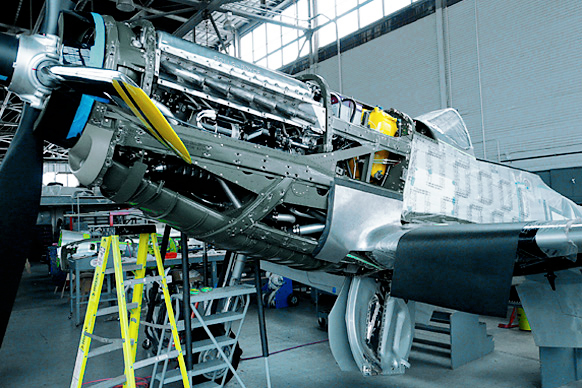
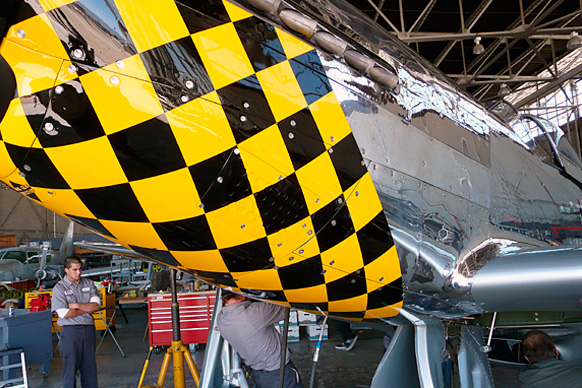
Kent was brought in to repair and fab two new wing root fairings for a P51 (D model) for a customer in Salinas, CA.