Making a Hatz Nosebowl
By Kent White
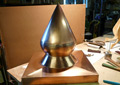
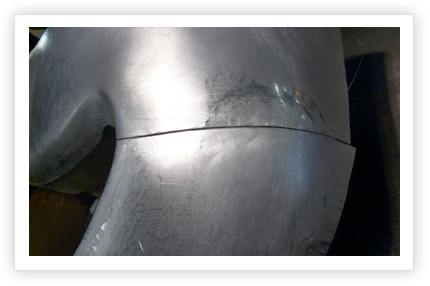
This is the story of making an airplane nosebowl for a Hatz biplane. Dennis Hall, retired professor of microbiology, is building an airplane from scratch and needed help finishing up the nosebowl. It is 3003 half-hard .040.
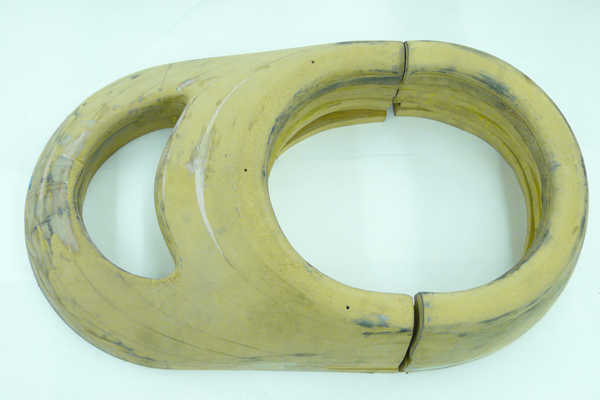
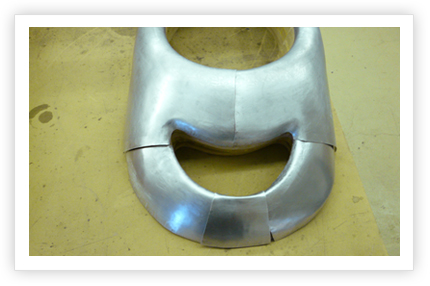
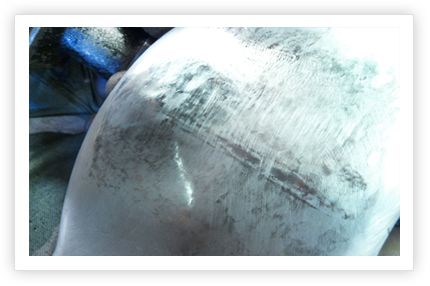
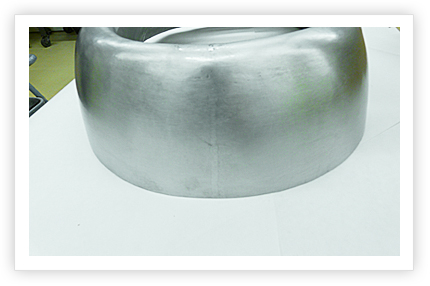
Dennis made a flow-forming block out of laminated MDF sections which were then sanded and filed into his shape. He then formed each metal section to the block by flow forming, hand forming, and wheeling.
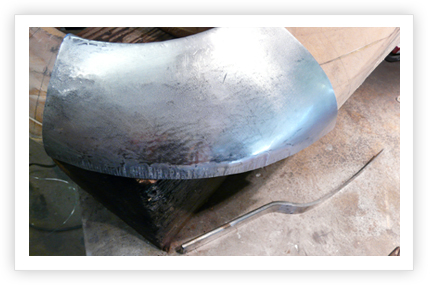
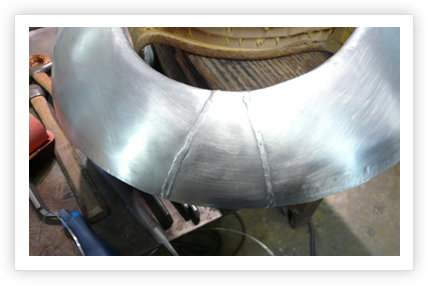
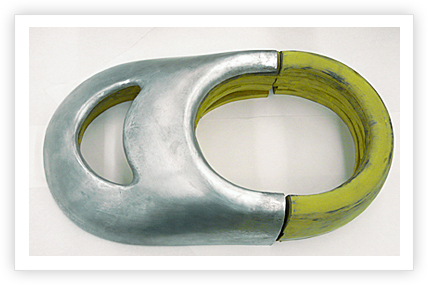
The segments are shown here, ready for final fits and welding.
etc.

etc.
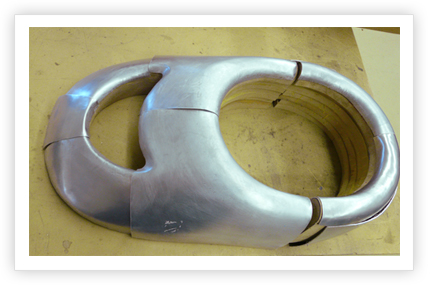
His work looked very good to me, so I began seeing how closely I could get them to fit as I prepared to gas weld the aluminum.
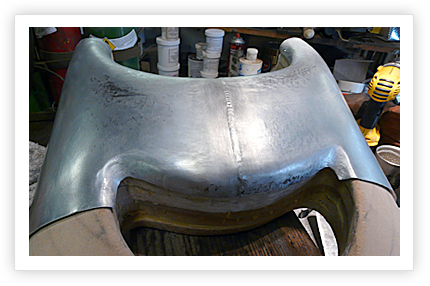
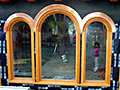
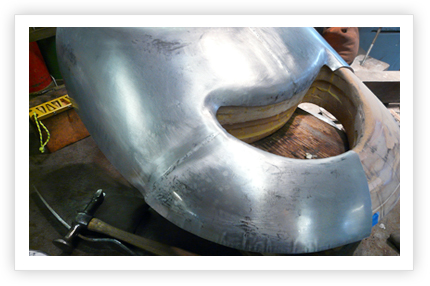
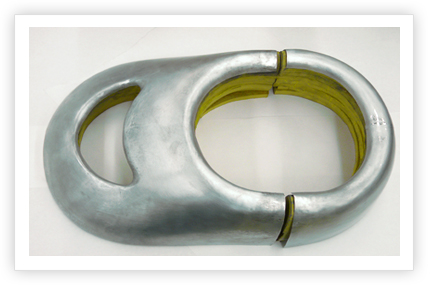
Where to start? After studying the assembly as a whole and then thinking through various possibilities for the procedure, I started by joining the two halves of the major section.
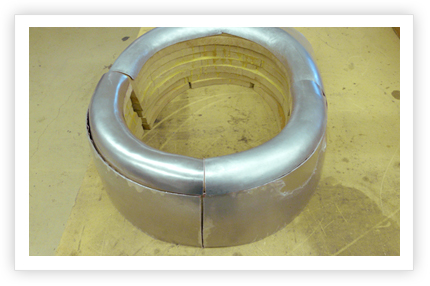
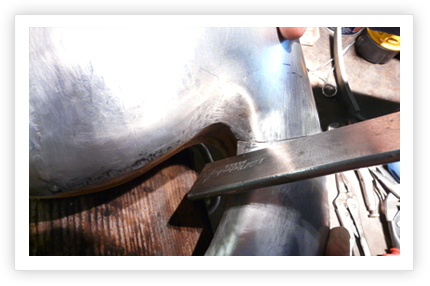
Then I set up and joined the lower left panel onto that. Note the witness marks that will keep the panel aligned for the tacking process. These are essential.
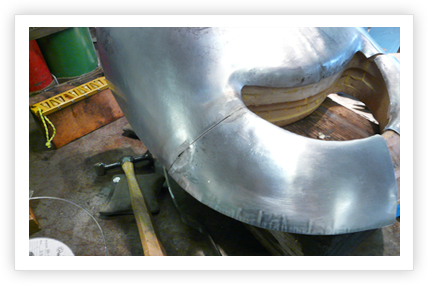
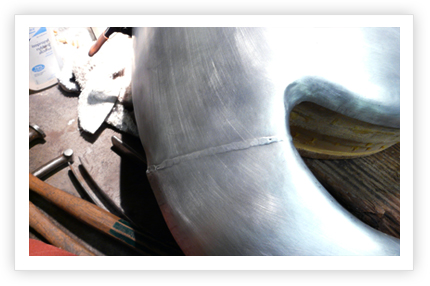
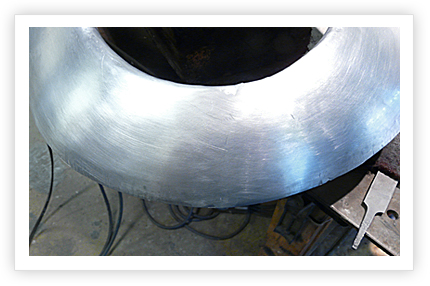
My particular field of metalworking (working up compound shapes of various alloys of sheet metal) requires â at the top end â good straight seams and smooth surfaces. So, the next step is tight fits and making careful tacks. In this case, it was best to tack at either end.
I welded the seam completely and then leveled it up with the spoon and dolly.
I clean my work with a scuff pad and isopropyl.
Dennis asked me for welds that could be easily painted over, but his job was smoothing these welds, so it was a 50-50 partnership. I have to hand it to Dennis, he is learning a whole new skill set after learning several others. Hand skills are a marvelous balance for head work.
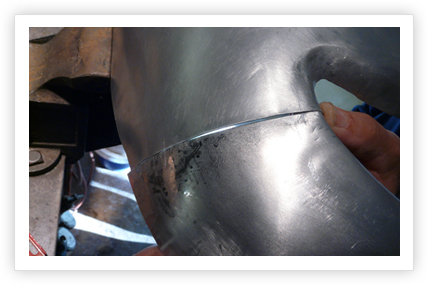
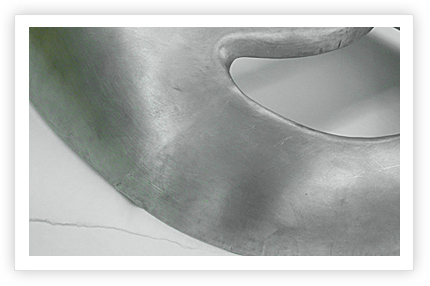
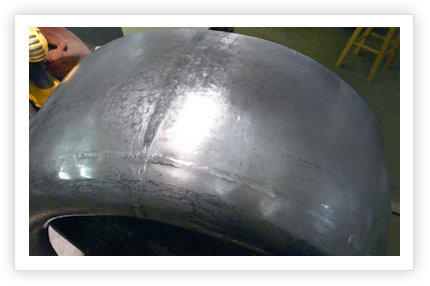
Spoon and dolly give excellent fits on this panel.

Arched mark shows a bit of hand shrinking was done to get a great fit.
Ready for witness marks? I think so.
The spring steel slapper has rounded edges for a âstriking reason.”
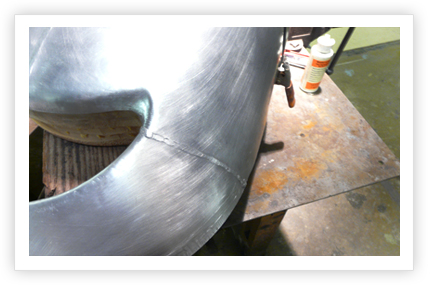
Welded and smoothed.
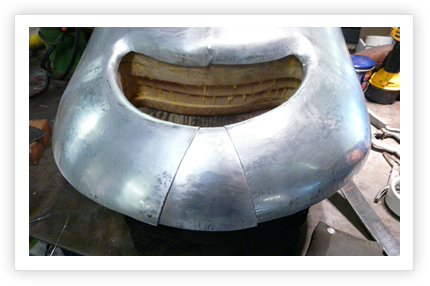
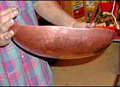
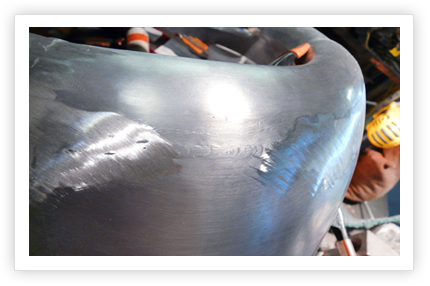
Lower center piece gets the final attention. (Note the little shrink marks around the edge.)

Fit, mark, clamp, and tack. My tacks are very secure as the tacked parts are often whacked further into place.
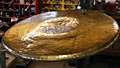
Welded and planished (smoothed by light hammering.)
Metal finished after planishing.
Fit. Tacked, welded - and now planishing commences.
After planishing is metal finishing: Smoothing by carefully removing metal.
After all that, I planish some more â because I do not try to metal finish ALL the waves.
etc.

etc.
Check fits
Check all fits
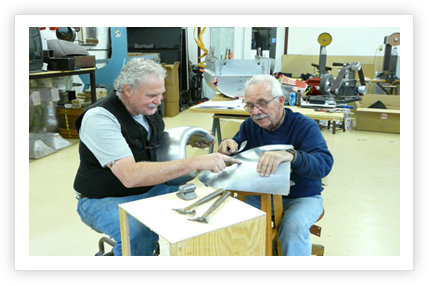
Dennis and I are nit picking the last tiny bits.
He wrote me later to say that he was very pleased with the time he spent doing this with me. He is a very good student â after having been a professor for his working life. I am very pleased to know him.
- tinman