Silver Mirror Restoration
By Kent White
I was asked to do a really unique restoration project recently on an old silver dressing-table mirror. Generally I am doing much larger-scale projects like automobile bodies, or tanks, or aircraft panels. So being presented with a project that was much smaller-scale and more intricate and ornate than a standard fender was not only fun, but threw a few unexpected creative challenges my direction.
The frame looked to have been made in Europe sometime in the 1920s. The mirror was part of a set that included a pivoting stand that held the mirror, as well as several glass jars with metal lids that were meant to hold things like lotions or cream, or dusting powder. The set had been left in storage for many years, and had suffered from neglect and probably at least one or more trans-continental moves. I could see on the initial inspection that several pieces were broken, and that the entire piece was in need of some serious (but delicate) repairs.
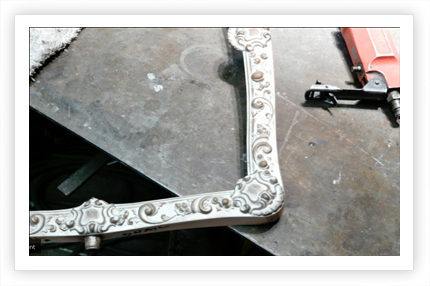
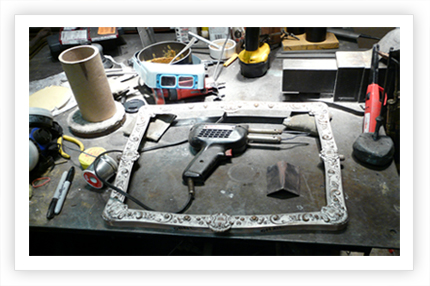
The frame was made from many pieces of very thin copper that were first pressed and then soldered together.
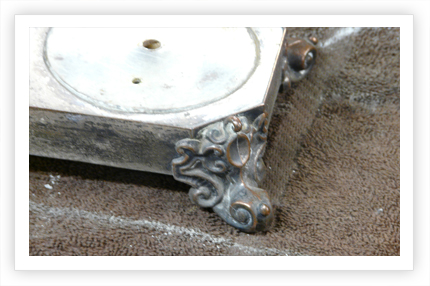
The feet were been cast and then they were soldered onto the mirror's base.
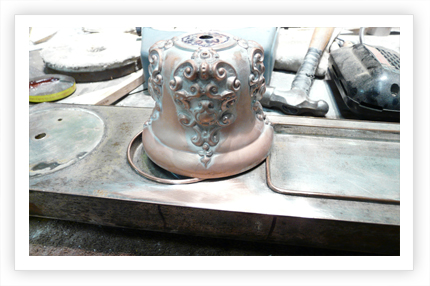
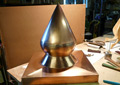
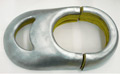
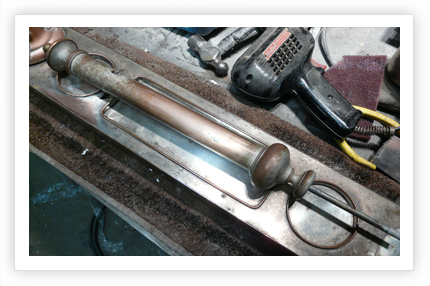
The mirror was originally suspended between two vertical columns that allowed the mirror to "pivot" or adjust to different angles. One column base was straight and clean, the other was not in as good a condition. The two bell-shaped bases were originally spun and the filligree was pressed out, fit, and then soldered on â times four. So much beautiful detail on this mirror.
To even begin the job I had to do considerable cleaning just to be able to see where all the damage and dents were. After a thorough cleaning and check, I focused on removing and/or filling dents. Both columns had dents severe enough that they required silver solder.
At one point in its history the mirror had been dropped. This hollow bell-shaped column base was crushed a bit and I had to remove the bottom and straighten out the wrinkles. Then I had to re-install the bottom.
Dents, dents, and lots more dents. You don't realize how many dents there are until you start trying to remove them!
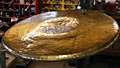
The bottom of the base had not done well in damp storage and was literally falling apart.
I scrubbed the rust until it all went away- I mean ALL went away. Weight of the bottom was provided by a heavy stone filler.
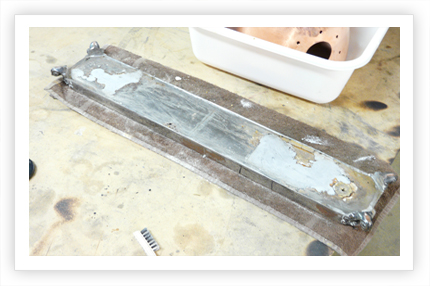
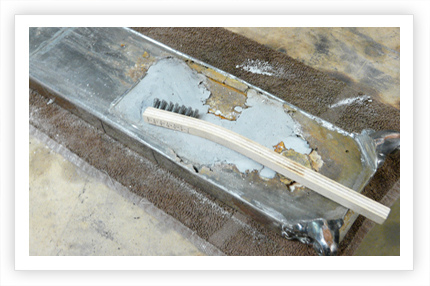
Filling holes and removing dents in the thin frame. I had to work really carefully because even small amounts of pressure on the thin frame caused additional dents and dings.
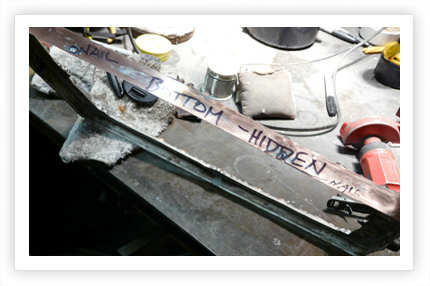
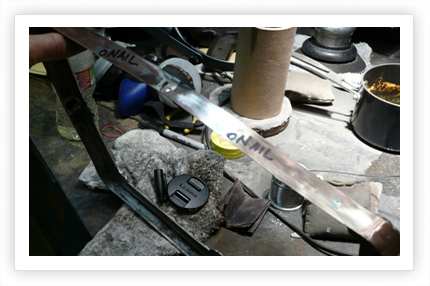
I marked the bottom of the mirror as I was making my repairs. The top looked better than the bottom, although the bottom looked good.

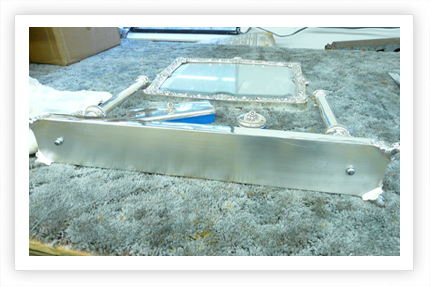
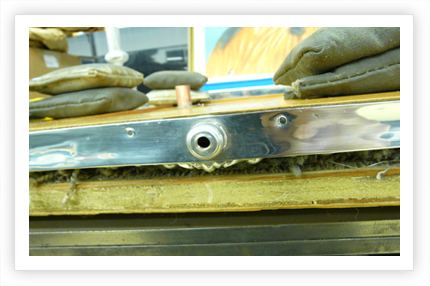
The original nails used to hold the mirror together had rusted and come loose. At some point larger nails had been hammered in to the frame, making kind of an ugly mess. I had to remove the crooked and bent nails, then their holes and then I had to remove the hammer marks.
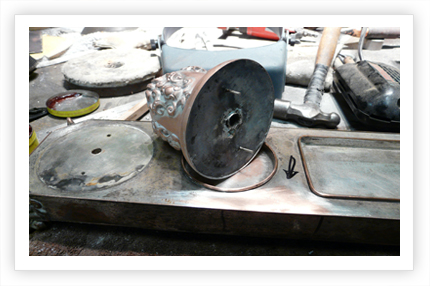
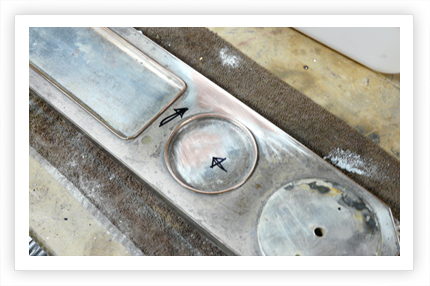
In this image I am assembling the columns and bells onto the base. The bottom view here shows that the second layer of copper went on in a tidy fashion, and accepted the silver plating without any troubles. After searching for 6 months to find a silver plating shop willing to tackle the job (I even shipped the whole job out and got it sent back to me by one shop) I finally found Friedman Silver. http://www.friedmansilver.com/qualitycounts.html
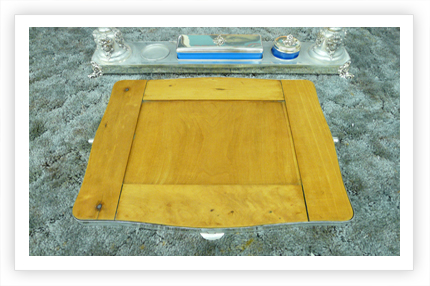
The back of the mirror was hand planed-and-scraped alder. The center section is one complete slab that is tapered on all four sides. I reassembled the pieces and glued them back together to give the best fit possible. The two dark stains are from two large nails that refused to come out.
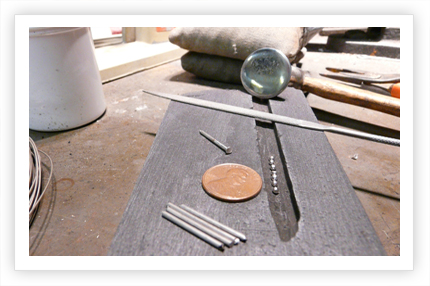
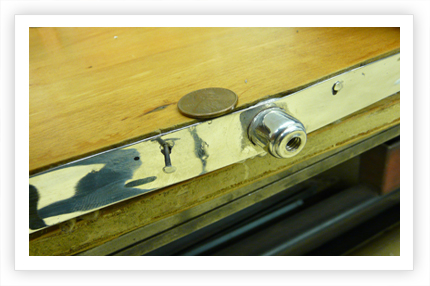
Since the original nails rusted and fell out I had to make new ones. Stainless seemed a better choice since I know it will not corrode when in contact with the lignins the wood contains. All I had to do was add silver heads and then form the heads to the size and shape needed.
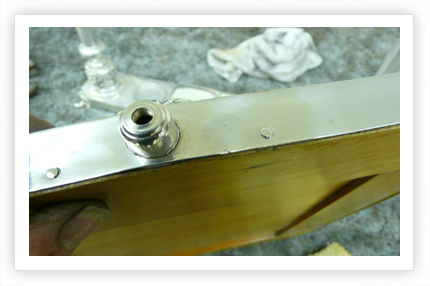
The new hand-made silver nails â set down and looking good!
The frame did not deform as the nails set down tightly. (another sigh of relief)
After straightening the frame and re-working the wooden back the frame still fit very nicely. All I had to do was drill the new holes and drive in the new nails without leaving any marks. It took me a while to ready myself for this task, since so much can go wrong â and I did not want to have to pry a nail back out at this point in the restoration.
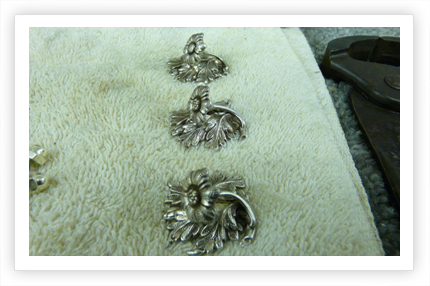
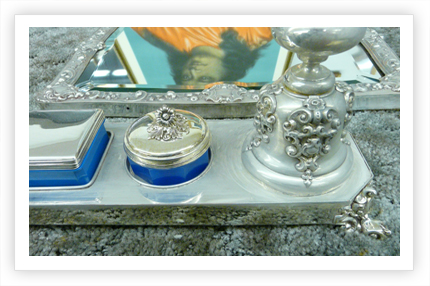
As I mentioned above, the mirror set contained three glass jars, probably intended to hold jewelry, or possibly lotions, creams, and dusting powder. Each jar had a beautiful metal flower handle mounted on their lid. Unfortunately, the set arrived with only two flowers. You cannot tell that I had to remove one flower to copy the missing one, or that the flowers are two pressed halves, with stems added, and are then mounted exactly into place on the delicately-pressed filigree base. The details of the workmanship on this mirror are so well done that I felt a little intimidated by the level of craftsmanship that I had to match.
The flowers assembled onto the lids very well, but they did need fitting onto the curved contours.
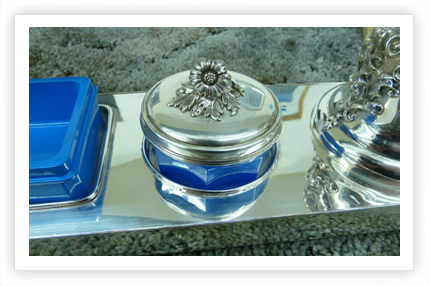
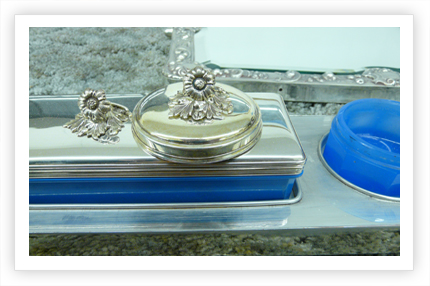
The little flower handle fits nicely, and so does the lid on the jar. There is a color difference between the two blue jars and the blue tray (left), because the rectangular blue tray is a replacement. One jar had a pretty good chip out of its bottom, which led me to think that when the mirror fell, the long tray was shattered. I designed a new tray and had it machined out of aluminum to match the shape of the glass. Getting the color to match took more weeks, and I was only able to match closely, even then. It is pretty hard to match an applied color to a glass color.
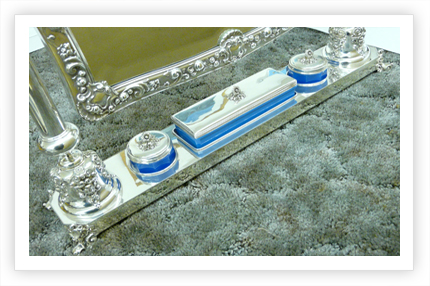
The two jars and the tray are all now assembled and polished.
Tarnish happens in about two weeks. Here you can see a coat of silver polish going on the base of the column, right.
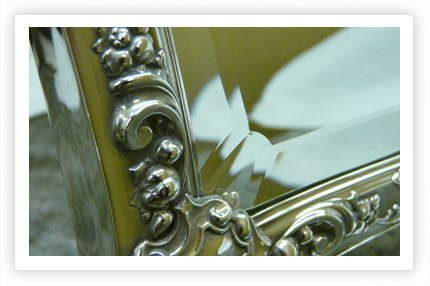
Corner details of frame and glass
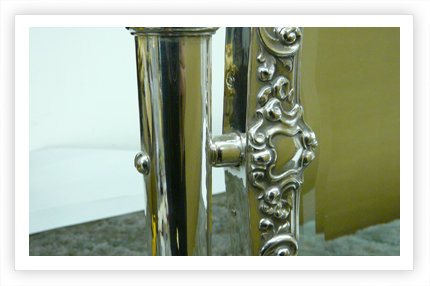
Detail of upright, pivot screw, pivot, frame, and mirror. Silver-headed nails are barely visible.
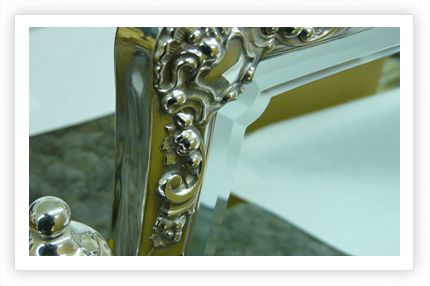
Detail of column top, frame corner and glass
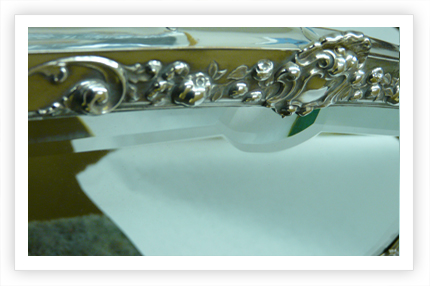
Detail of frame and glass.
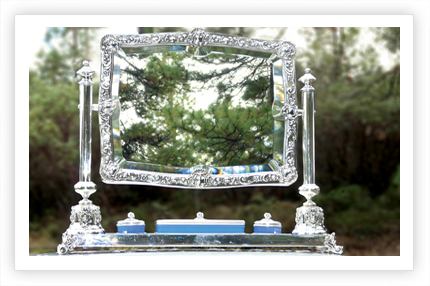
The mirror, finished.