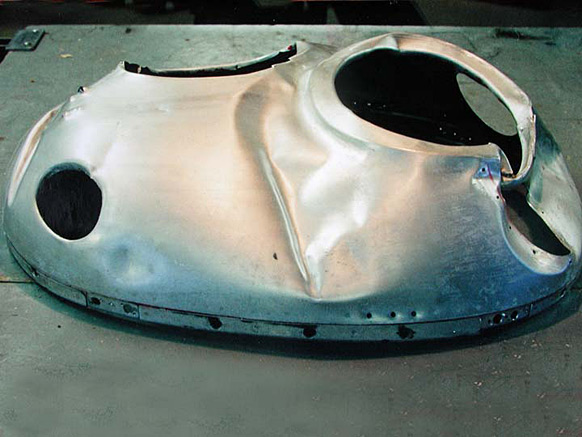
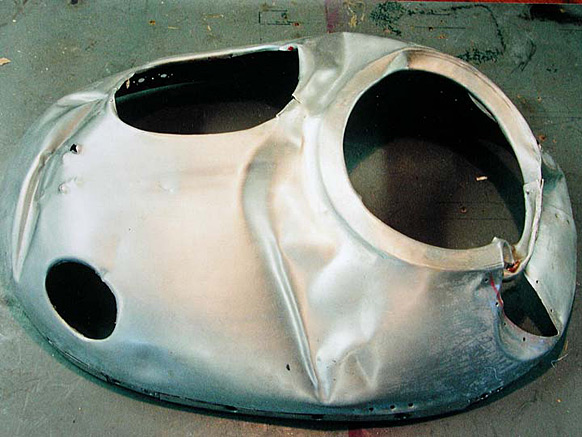
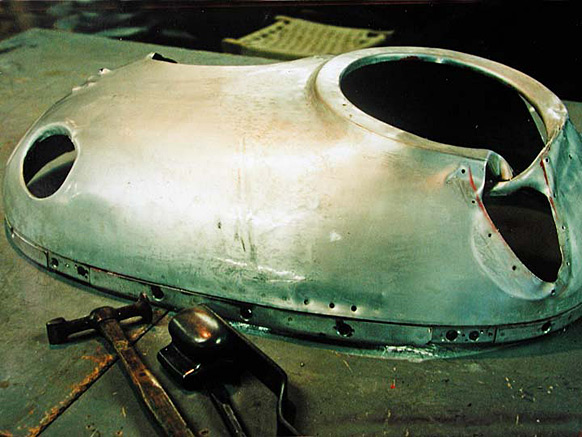
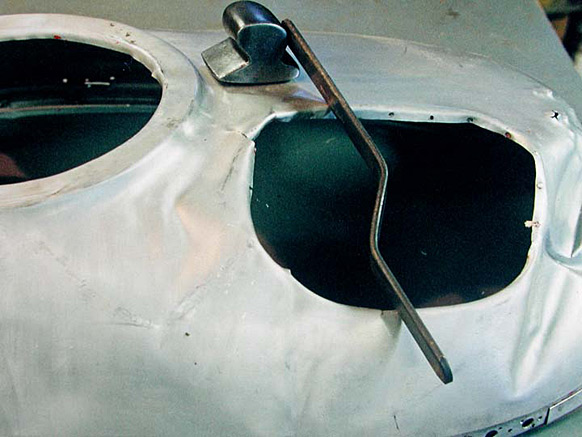
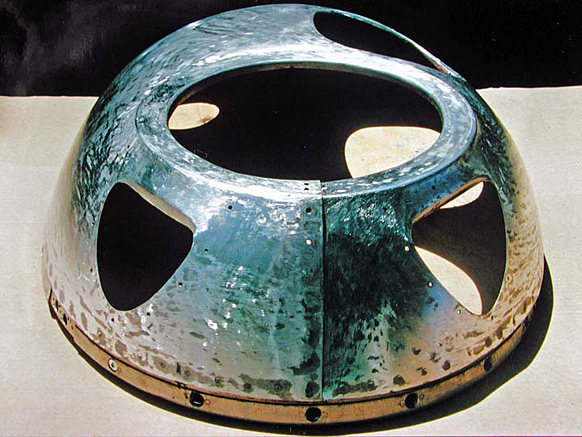
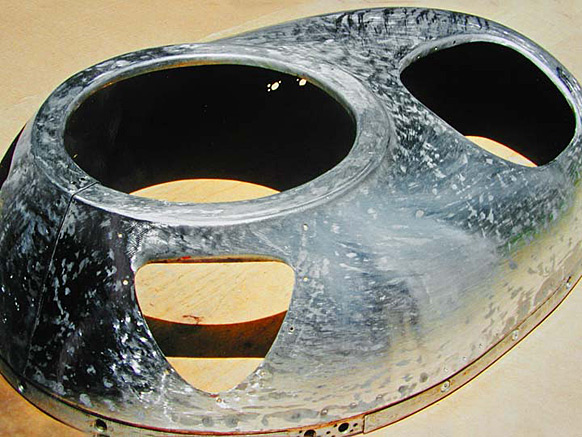
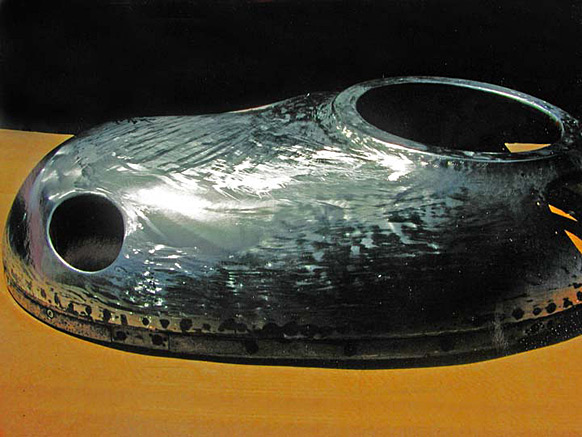
Aluminum Repairs to a Ryan STA nosebowl

-
This is a plane similar to the one that was damaged, a Ryan STA
-
The paint was stripped clean from both sides of the aluminum part and all the crevices.
-
 start by bumping up the damaged aluminum from the back side using a “track dolly” - shown later.
-
After bumping up to reduce the size of the waves, I use a “slapper” to help level the damaged aluminum panel even more.
-
Here is the spring steel slapper and the track dolly. The aluminum nosebowl is looking better.
-
Hold the dolly up tight against the metal, lifting with it as you strike the top surface with the slapper. A hollow sound means moving the metal without stretching it more - while otherwise, a sharp ring and contact against the dolly means stretching is happening. Sometimes you need to increase the surface area, but sometimes you definitely do not.
-
Look carefully to see the shiny dark spots left by smoothing the damaged aluminum with these two tools.
-
More bumping, and also some hammering on top to collapse the bad areas where the engine came through the aluminum sheet metal.
-
Drive down high spots without leaving hammer marks by striking the slapper held against the metal surface. Metal can be hot if you need it to “shrink,” or go down to reduce the surface area.
-
This alloy is 5086 and is .050” thick. I either anneal or just work this aluminum alloy hot, reducing the swellings from all the damage. I check file and then test sand with 320 paper: my damage repairs look good.
-
Now that I know the type of aluminum alloy with my first-hand experience, I now have a system/procedure worked out (aluminum alloys vary in their working procedures) for tackling the worst tangled twisted mess of this aluminum damage repair job.
-
I have a profile of the nosebowl opening patterned in paper, so I make a plywood form that screws to my bench top. This holds the nosebowl in its true contour and also keeps it flat on the table - both elements being so very important for damage repairs on any metal. Using strong pinch-clamps on either side of the egg-shaped prop opening, I grab them with a large extended pair of clamps and yank them together as I work the aluminum into proper alignment.
-
It was stretched almost one inch, so I have to trim off the excess and butt-weld the seam, using 5356 filler that I can hammer flat.
-
Some wrestling, some patience and following my plan saved this damaged aluminum part.
-
It all came together, again.
-
It’s so nice to make a plan, work the plan, and stick to the plan - and have such nice results. Ready for paint!!
Back to Aircraft Metal Work
Back to Gallery
Aluminum Damage Repair Products
See TM Air Power Hammers
Articles by The Tinman